How to translate a YouTube video
How to translate a YouTube video into another language with subtitles or an AI dub, and how to publish each version on your channel.
6 min read
You can translate a YouTube video in two ways. You can add translated subtitles, or you can dub the video so viewers hear it in their own language. Most channels end up using both, depending on the video. This guide covers how each works and how to publish the result.
Pick subtitles or a dub
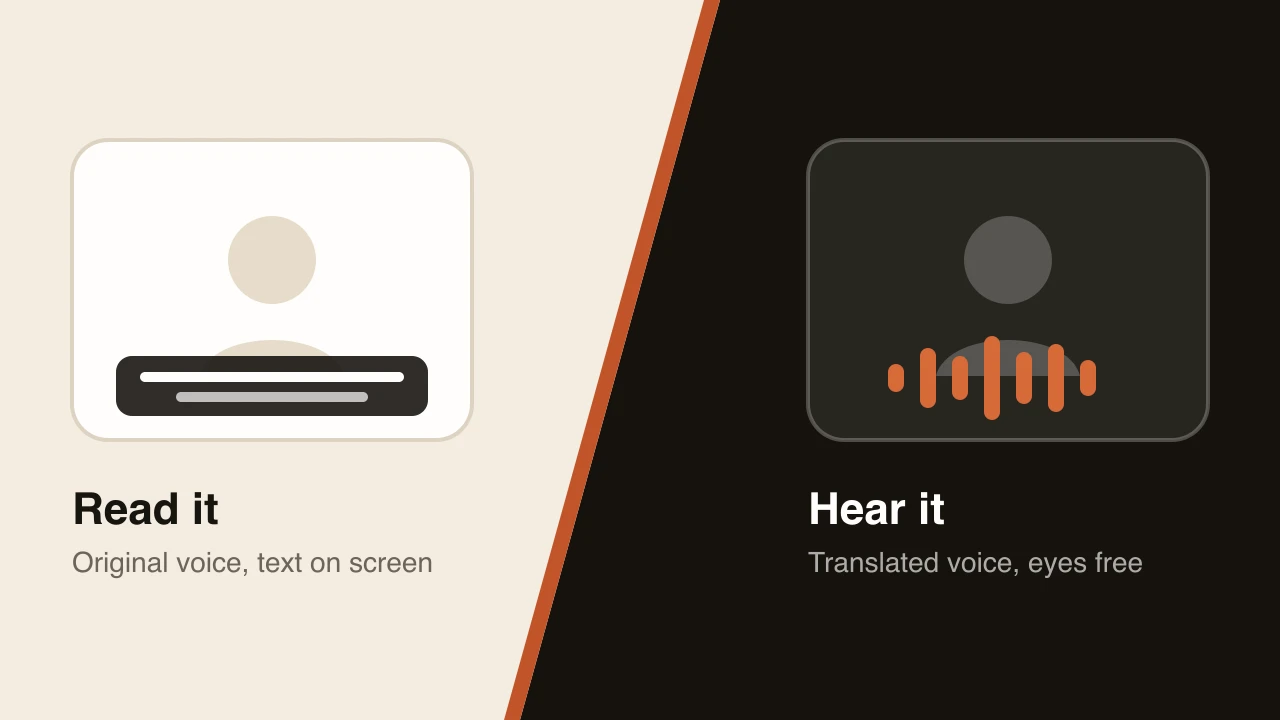
Subtitles keep your voice and add text on screen. They take little effort and work for any video. A dub replaces your speech with a spoken track in the new language, so viewers can look at the picture instead of reading. Tutorials, demos and explainers gain the most from a dub, because people are watching what you do on screen. The guide to AI dubbing vs. subtitles goes through the trade-offs.
If you only need to understand someone else’s video, YouTube’s own auto-translated captions are usually enough.
How to translate a YouTube video with subtitles
In YouTube Studio, open the video and go to Subtitles. Add a language, then upload a subtitle file or type the lines in. If you do not have a subtitle file yet, how to create an SRT file shows how to make one, and how to translate an SRT file covers translating it into other languages.
How to dub a YouTube video
A dub takes a few more steps, but most of them happen inside the tool.
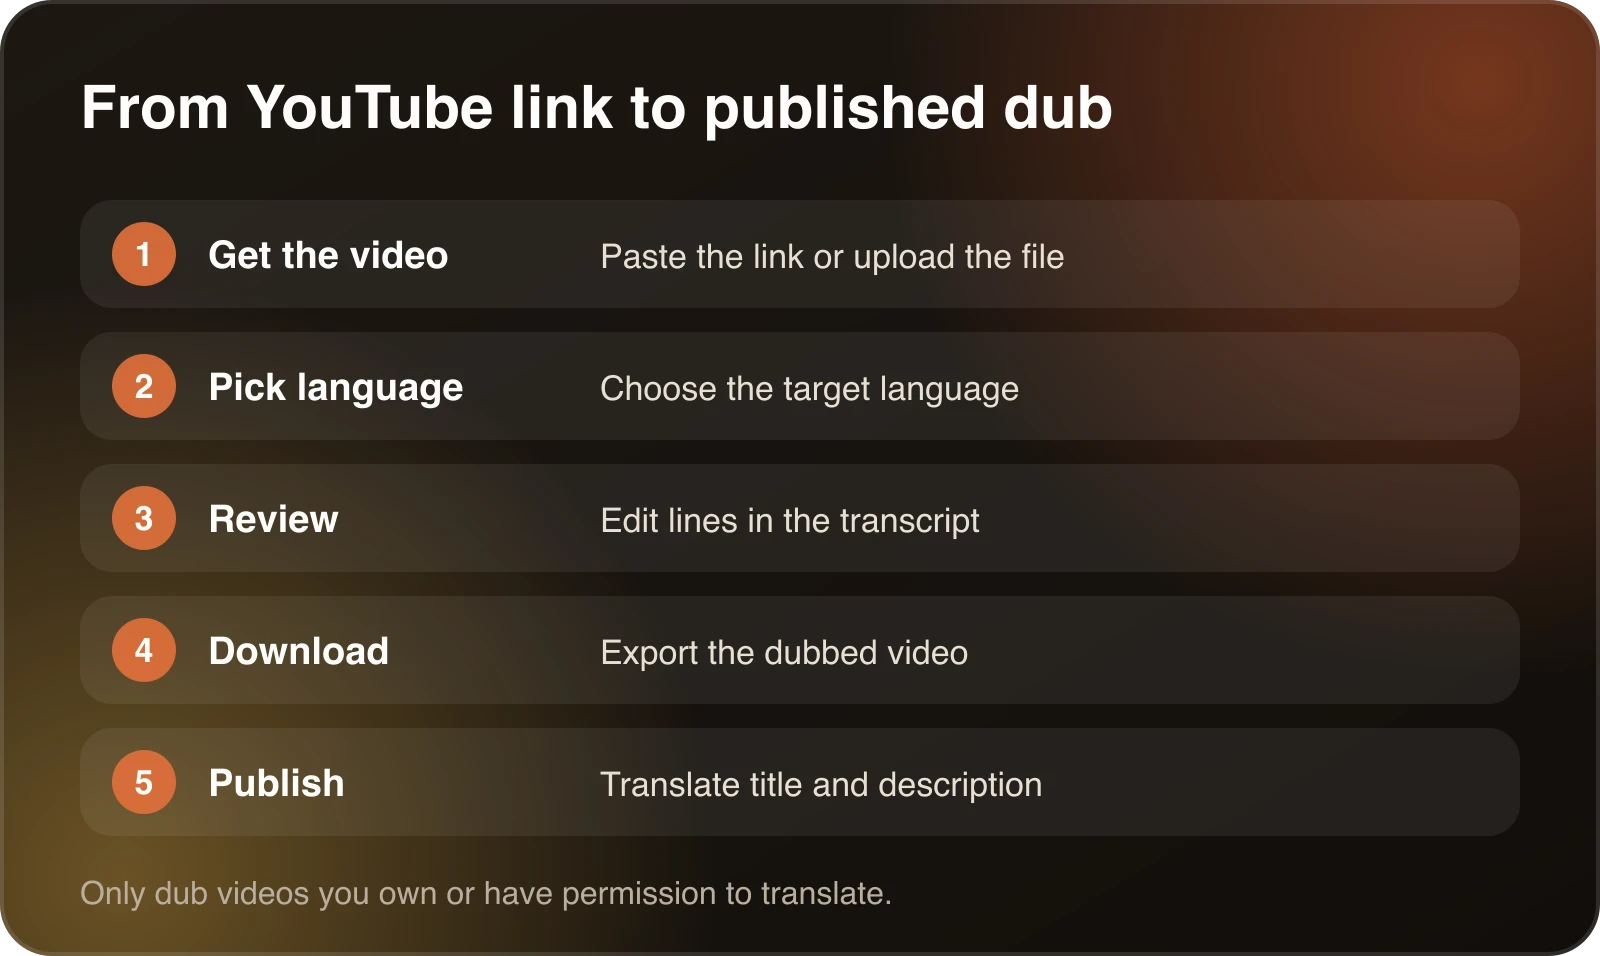
- Get the video in. In Dubtitle you can paste the YouTube link or upload an MP4, MOV, AVI or MKV file.
- Choose the language. Dubtitle supports 84 languages. Most videos finish in 2 to 10 minutes. With voice cloning, the dub is generated in a voice modelled on yours.
- Review the transcript. Open the project in Studio, read the translated lines and edit any that sound wrong. You regenerate only the segments you changed.
- Download the dubbed video or audio.
- Publish it. Options are below.
For a full worked example, see how to dub a YouTube video into Hindi. The steps are the same for other languages.
Publish the translated version
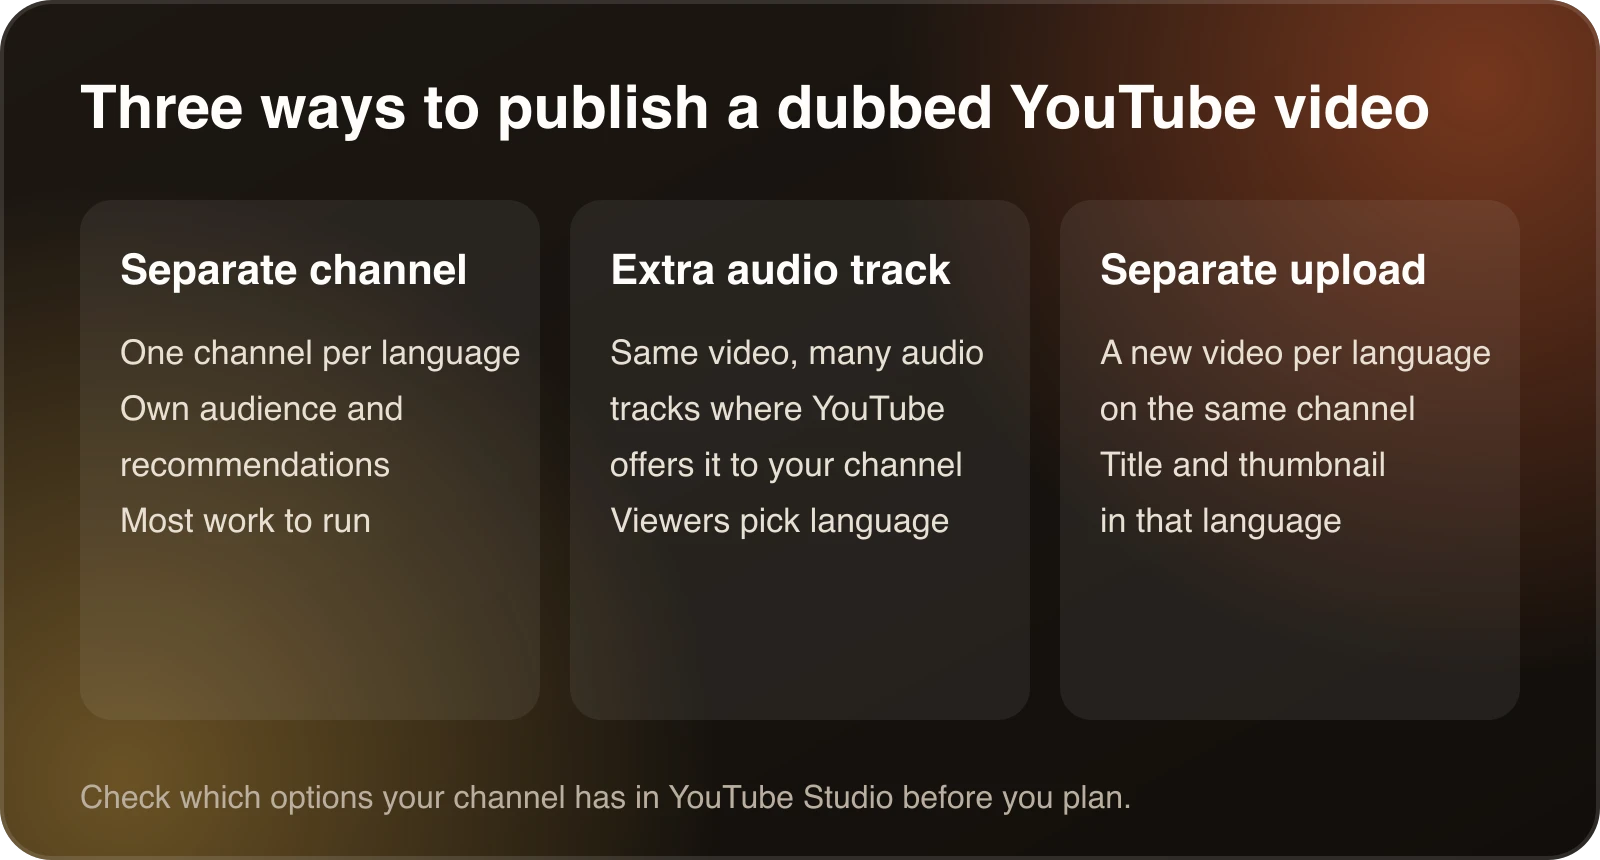
A separate channel per language. Each channel builds its own audience, and recommendations stay in one language. It is the most work to run.
An extra audio track. Where YouTube offers multi-language audio to your channel, you attach the dubbed audio to the original video. Viewers pick their language from the settings menu. Availability changes, so check YouTube Studio.
A separate upload. Publish the dubbed video as its own video, with the title and description in that language. It is the simplest route and works for every channel.
Whichever you pick, translate the title, description and thumbnail text too. Write them the way people in that language search, not as a word-for-word copy.
Translate the rest of the page
A dubbed video still has to be found. YouTube shows titles and descriptions in the viewer’s language when you provide translations, so it is worth doing these properly.
Title. Write it the way a native speaker would search, not as a literal copy. A short, clear title usually beats a clever one.
Description. Translate the first two lines carefully, since they appear in results. Add chapters if you use them, and translate the chapter names.
Thumbnail text. If your thumbnail has words on it, make a version for each language. Text in a language the viewer cannot read is a strong reason not to click.
Tags and captions. Add the translated subtitles as well. They help people who watch without sound and give search engines text in that language.
Playlists. Group the dubbed videos together so a viewer who likes one can watch the rest.
YouTube’s own dubbing versus a dubbing tool
YouTube offers automatic dubbing on some channels. It is convenient when it is available to you. A dedicated tool gives you more control: you choose the languages, edit the translation before anything is published, and use glossaries to fix how names and terms are translated. AI dubbing for YouTube explains what Dubtitle adds.
Which languages to start with
Do not translate into everything at once. Look at your analytics first. YouTube Studio shows where your viewers are and which languages they use. If a country already watches you in English, a dub in its language is likely to do well. Start with one or two languages, publish a few videos, and check watch time against your English version before you scale up.
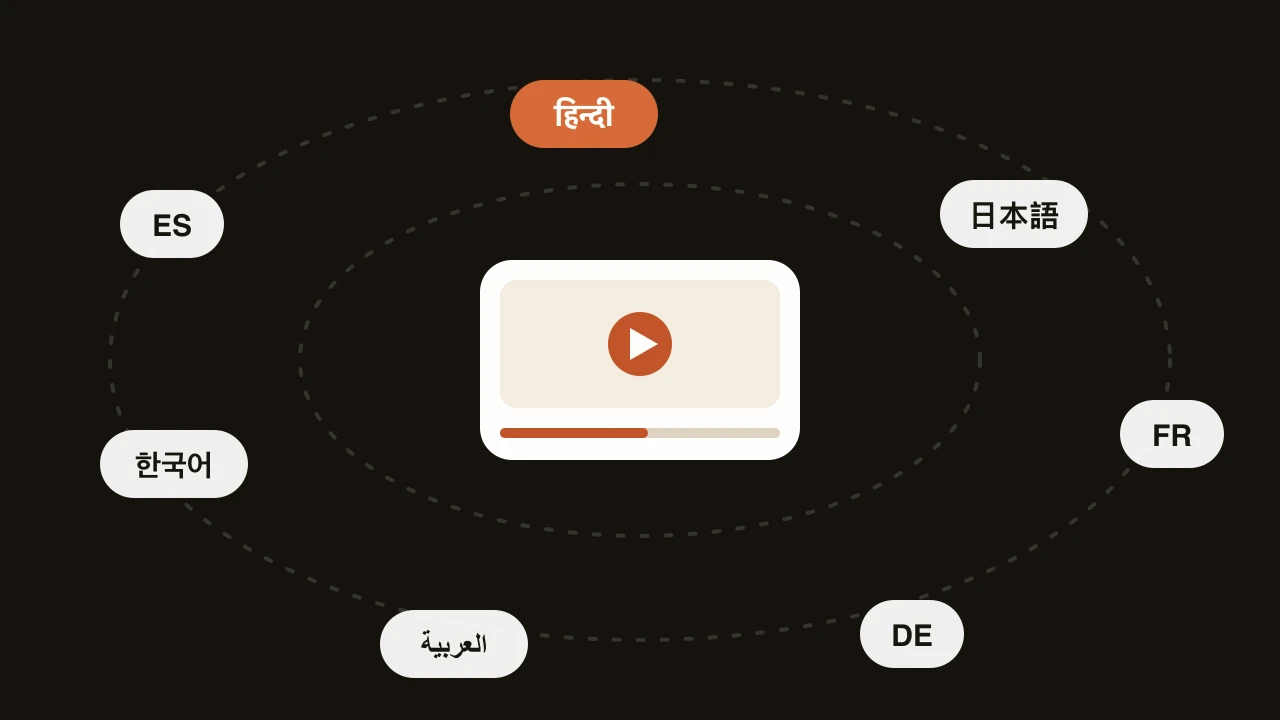
Spanish, Hindi, Portuguese and French are common first choices because they reach large audiences. See how to translate a video to Spanish and how to translate a video to English for notes specific to those languages.
Translating videos you did not make
Sometimes the goal is to understand a video, not publish it. For that, YouTube’s auto-translated captions are usually enough. Open the video, turn on captions, open the settings menu and choose auto-translate. The quality depends on the speech and the language pair.
Publishing a dub or translation of someone else’s video is a different matter. Without permission you may breach copyright or YouTube’s rules. Ask the owner first, or pick a video with a licence that allows it.
Common mistakes
- Translating only the audio and leaving an English title and thumbnail.
- Publishing without reading the transcript. A single wrong product name in the first minute is the one viewers remember.
- Choosing a language for prestige instead of data.
- Uploading the dub as a replacement for the original. Keep the original video and add the dub next to it.
- Ignoring length. A dub that runs much longer than the original can make the picture feel slow.
Before you publish
- Read the transcript and fix names, idioms and numbers. The idiom example in the Spanish guide shows what to look for.
- Listen to the first minute. That is where viewers decide whether to stay.
- Only dub videos you own or have permission to translate.
A simple plan for your first dub
- Pick one video that already does well in English. A proven video is a safer test than a new one.
- Choose one language your analytics suggest.
- Dub it and read the transcript. Fix names and idioms.
- Translate the title, description and thumbnail text.
- Publish it and leave it for two weeks.
- Compare watch time and subscribers gained in that language against your expectations.
- If it works, dub your next five best videos. If not, check the translation quality and the packaging before you give up on the language.
This takes a small investment of time and teaches you far more than a bulk upload would.
What it costs
Plans start at $5 a month, and each language is a separate dub. See pricing and how much video dubbing costs to estimate your channel’s budget.
Frequently asked questions
How do I translate a YouTube video?
Add translated subtitles in YouTube Studio, or dub the video with an AI tool and publish the new audio. Subtitles keep your voice and add text. A dub replaces the speech with a spoken track in the new language.
Can I translate someone else's YouTube video?
For your own understanding, YouTube's auto-translated captions are enough. To publish a dub or translation, you need to own the video or have permission from the owner.
Does YouTube have automatic dubbing?
YouTube offers its own automatic dubbing on some channels. Availability and languages change, so check YouTube Studio. A tool like Dubtitle works on any video you have the rights to dub and lets you edit the translation first.
Can I add several languages to one YouTube video?
Where YouTube offers multi-language audio to your channel, you can attach extra audio tracks to a single video. Otherwise, publish each language as a separate upload or on a separate channel.
Which is better for YouTube, subtitles or a dub?
Subtitles are quick and cheap and work for every video. A dub suits tutorials and explainers, where viewers should watch the screen instead of reading. See AI dubbing vs. subtitles for how to decide.
Table of contents (12)
- Pick subtitles or a dub
- How to translate a YouTube video with subtitles
- How to dub a YouTube video
- Publish the translated version
- Translate the rest of the page
- YouTube’s own dubbing versus a dubbing tool
- Which languages to start with
- Translating videos you did not make
- Common mistakes
- Before you publish
- A simple plan for your first dub
- What it costs